Have you ever walked into a room and felt it just *speak* to you? Like, the walls are whispering tales of tradition and culture? That’s the magic of wall art! Now, imagine infusing that vibe with the vibrant spirit of Ukraine. Sounds dreamy, right? Let’s dive into the world of DIY Ukrainian-inspired wall art—where creativity meets heritage!
So, first things first: what’s the essence of Ukrainian design? Think bold colors, intricate patterns, and a touch of rustic charm. You might be wondering, “Where do I even start?” Well, grab a cozy drink, and let’s brainstorm some ideas for your masterpiece!
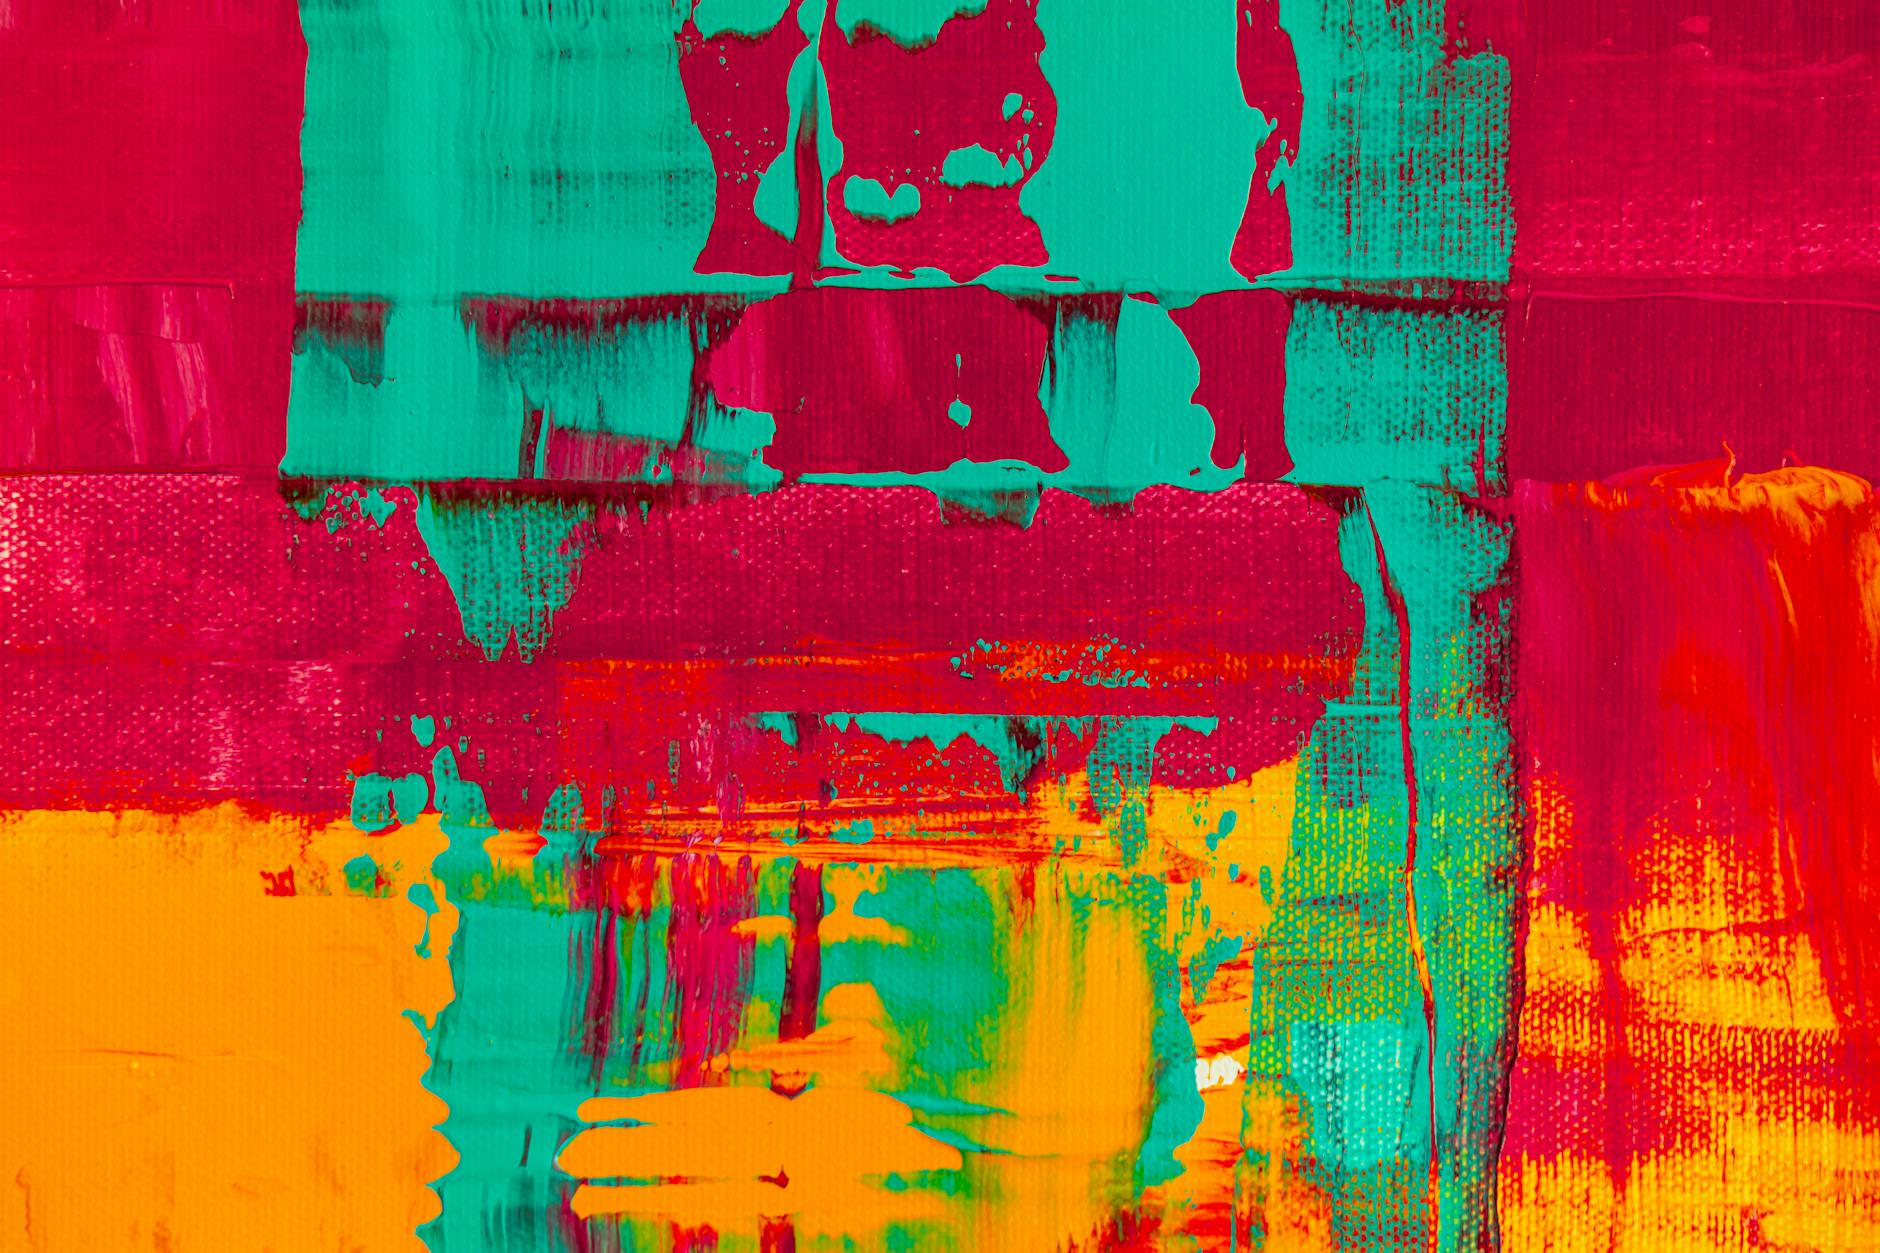
1. **Get Inspired**: Take a stroll through your local market or flip through some art books. Noticing the traditional motifs? The floral designs, the bright reds and blues—these are your cues. Let’s say you spot a beautiful vyshyvanka (embroidered shirt) at a shop; snap a pic! Use it as a reference for your colors and patterns.
2. **Materials Matter**: You don’t need an art degree for this part. Head to your local craft store (or rummage around your home) for supplies. You’ll need canvas or thick paper, acrylic paints, brushes of different sizes, and perhaps some stencils. Oh, and don’t forget a palette for mixing colors. Trust me, it’s not just for fancy artists!
3. **Sketch It Out**: Now, before diving headfirst into painting, sketch your design. It could be a traditional flower pattern or even something abstract inspired by nature. Think of it as a warm-up—like stretching before a workout. And if you mess up? No worries! It’s all part of the creative process. Remember, art is subjective. What matters is that it resonates with you.
4. **Paint Away**: Here comes the fun part! Using your brushes, start filling in your sketch with those vibrant colors. If you’re channeling your inner Van Gogh, don’t hesitate to layer your paint. Maybe even try a few brush strokes here and there to give it a textured look. Remember that time you tried to bake a cake and ended up with a pancake? Art is just like that—sometimes it doesn’t go as planned, but it’s all about the journey!
5. **Finishing Touches**: Once everything is dried and looking fabulous, think about how you want to display your creation. Maybe it’s a statement piece above your sofa or a charming addition to your gallery wall. Consider framing it or even hanging it with a cute washi tape. And voilà! You’ve got yourself a piece of art that not only beautifies your space but tells a story.
Creating something with your own hands feels rewarding, doesn’t it? It’s not just about home decor; it’s about expressing your identity and connecting with a rich cultural heritage. And who knows? Your wall art might just inspire someone else to embark on their own DIY adventure!